Sunday, May 22, 2011

The cabinets are finished!!!

 The kitchen cabinets are done! They look SOOOO great! H-U-G-E thanks to my dad for all his hard work! I knew he wouldn't get too bored once he retired. :)

Just a reminder of before...

The first half were done earlier in the week so dad and James put those up

Working hard! 

James and I were in St.Louis this weekend so dad took the rest up to our house while we were gone! He sent these to my phone! I couldn't wait to see them! He did an awesome job!!

SO much better!!!!!

As for more updates....
Just some finishing touches :)

Of course I had to add some sore of creation of my own so I painted the (now) green birdhouse and decorated the tray by decoupaging the craft paper and lace to it. I also painted the tray and distressed it, it's just hard to see in the picture.

As for my frequent visitor, Lucy, she is extremely thankful we have furniture for her to rest on now when she comes over. :)


Sunday, May 15, 2011

Let the decorating begin!

I have been itching to decorate since I have held the key to the house.
Actually, before then because I had this project ready to display months ago...maybe before we even had a house picked out :)
This is in our apartment when I actually made them. I couldn't wait to hang them! 

I originally found this idea in my favorite magazine (It's a Better Homes and Gardens special interest magazine with DIY everything). This is extremely easy to do on your own if you are feeling a little inspired. It is a great way to add a little color to a blank wall, and an extremely cheap project!

To do this fun project, you will need a collection of picture frames that are all different in size, shape, detail, ect. All of these frames are from Goodwill or Salvation Army. I got each anywhere from 50 cents to $2 (see what I mean by cheap??). They all had random weird pictures in them (like naked baby angels or livestock). Keep in mind while you are looking for frames that you are going to paint them and get rid of the scary pictures in them. Pay attention to the detail of the frame. For example the one on the bottom left had a scary naked baby angel picture in it, and it was a weird brown. However, the frame was beautiful! It was covered in flowers! I knew it would look great painted a different color! 

Once you have your collection, chose your paper. Scrapbook paper is one of my FAVORITE things to decorate with and use in crafts.I chose paper  from one of those books of scrapbook paper. They are all different but compliment each other. You can find the books or individual sheets at any craft store. Here are some close ups of the paper I used


Once you decide on the paper you like, it will be easier to chose a color to paint them. I used an antique white but don't be afraid to go with a bold red or cute green! I have seen frames done in almost every color. I already had this paint but it was like $1 from Hobby Lobby so don't spend a lot on paint. 

After the frames are dry it is time to put the paper in! The hardest part of this project was arranging them. I laid them on the floor and played around with them until I found the exact arrangement that I liked. I added the circle mirror kind of last minute. I was searching for another circle to kind of balance out all the squares when I found that beauty marked half off at Hobby Lobby. It worked perfectly in the collage and added an extra circle!


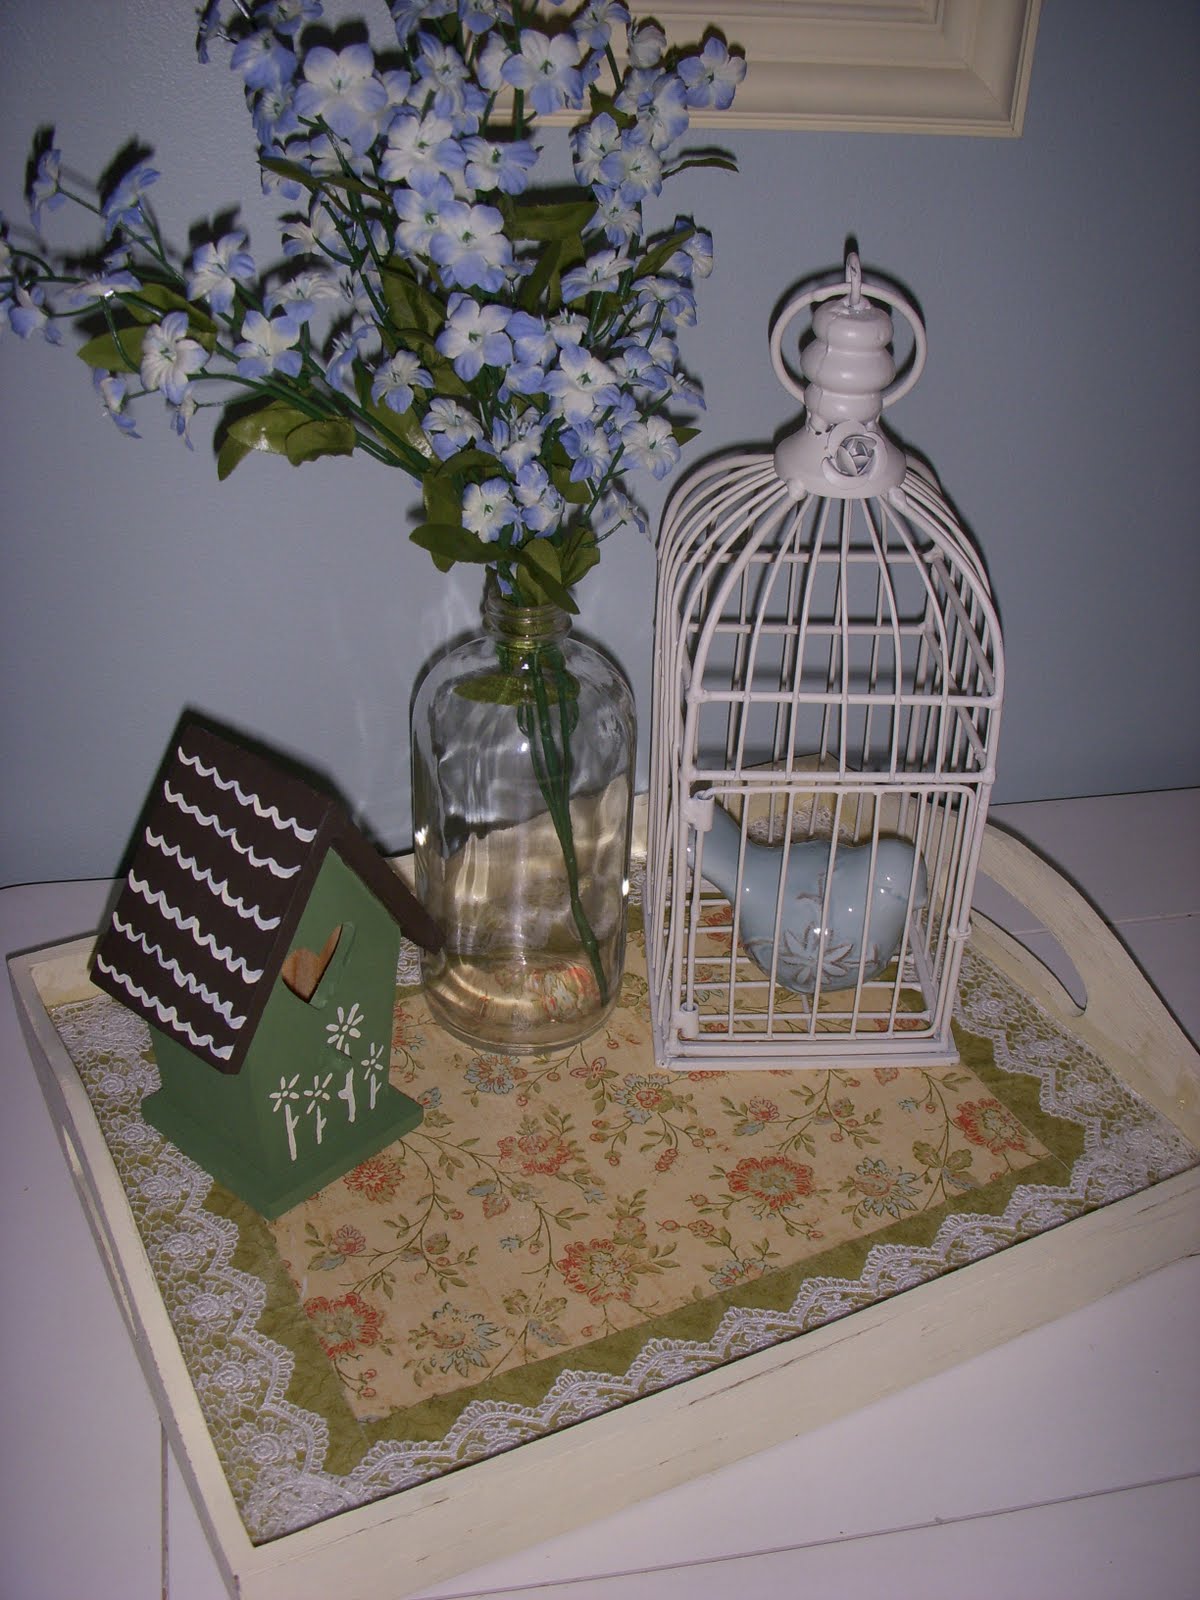
You can put your pictures above a table like this, above a couch if it's against the wall, in an entry way, in your bedroom, and the possibilities go on!
LOVE.

Updates!

We haven't been able to blog in awhile! We had an extremely busy week! James had to dog sit for mom and dad (he could't take off from work) while I went to Knoxville with my parents to celebrate an engagement and graduation. I had told Sarah months ago I was not taking off to go to her graduation and then a few weeks before it rolled around, Nat informed the fam that he would propose that week! Can't miss that!! Fortunately, I am blessed to have co-workers who will rearrange/swap shifts with me to work it out, so Wednesday morning after work we hit the road. And let's just say, Sarah was surprised! To read the proposal story, go here. Here are some photos from the short, but sweet, trip.
 
Showing off that bling!

 
The graduates

Our little Sarah is all grown up!

James and I are finally close to being entirely moved in. It was kind of bittersweet to pack up the apartment. Sweet, because we were getting out of there and moving to a house. Bitter, because this was where we started together. 
Last year when we found our apartment!

Our first Christmas :)

Proof that I cook :)


The first party we hosted

Definitely bittersweet. :)
Goodbye Olive Branch, MS. Hello Collierville! I must say, I am THRILLED to be back in TN!


Sunday, May 1, 2011

Kitchen chairs :)

James and I were at my favorite store (Sheffield's Antique Mall) looking for kitchen chairs. I knew I wanted all different chairs, and possibly multiple colors. I wish I had a better "before" picture of all of them, but I forgot! We got all the chairs at a great price and I bought 3 sample size paint colors from Lowe's because they are only a couple dollars. It took me forever to decide if I wanted them to be all the same color, 2 different colors, or each one different. You can see below what I decided and I'm extremely excited about the way they turned out!! We are using the chairs in the breakfast nook of the kitchen.

This is the closest thing to a before picture...just picture them all white before

These are the sample size paint you can get for super cheap. I had at least half left in there when I was done

all done! (they each took 2 coats)

the perfect splash of happiness!!

Projects coming up this week:
*James has a special project we are SO excited about. He won't let me put a teaser picture on here but he promises to post about it soon!

 I will be turning this thrift store treasure into something much cuter

I have BIG plans for this mantle....get ready!!!


Long weekend projects

We realized we have way too many projects going on at the same time. However, we have made a pretty good dent in our "to-do" list before we actually move our stuff in. We officially have 30 days to move out of our apartment, but plan on taking care of that in the next 2 weeks. Thankfully the entire downstairs is almost painted. I still have to decide on a color for the hallway and laundry room.

James took a couple days off work this week because I had 3 nights off in a row and we wanted to make a good dent in some projects.
Things that can be crossed off
Paint the living room
Pressure wash the back deck
Paint chairs for the kitchen
Put ANOTHER coat of paint in the kitchen 
Clean out gutters
I'd say we are making good progress!

We finally were able to tackle the living/dining area of our house. It's a huge room! Luckily we loved the color it was, it just needed a fresh coat of paint to cover up some holes/scratches/marks. The kitchen cabinets are still a work in progress. Dad worked on them while mom helped me paint, but I don't want to post pictures until they are all done Here are some of the pics we snapped as of late
The deck looks so much better! We love our helpers!

Mom and I nominated James for this task above the stairs

Scary!
(btw....who decided the rails would look nice with white and stained mixed together? That's on my list to fix )

Our paint went on exactly the same color as before so it was hard to make sure we covered everything...James and his dad had to touch a up our misses in a few spots :)

Lucy needed some quality lap time after all that painting.